 I’ve been working on some photographic techniques that I haven’t used for some time. One of the techniques I wanted to refresh is panoramic photography. I brought my panorama gear with me from home with this in mind. This contraption, the Really Right Stuff Pano Elements Package mounts on the tripod head and serves two purposes. It keeps the camera level as it rotates. Secondly it enables the camera to rotate around the nodal point of the lens in order to prevent parallax distortion. Otherwise, the stitching software may introduce distortion, or in the extreme be unable to match the component photos. After locating the nodal point of my chosen lens, I fitted the lens to my tripod and set out to shoot some panos.
The technique involves taking a sequence of overlapping shots by rotating the camera through the width of the scene. Each image overlaps the next by about 1/3, providing ample information at the edges for the software to merge them.
Software has gotten better and anyone with an iPhone knows you can do this with its camera. And, it’s much easier. To produce a larger, higher quality image however requires more care in keeping the rotation level and avoiding distortion that the photo software must endeavour to fix.
I’ve created three of these, beginning with this horizontal panoramic view of the 10th hole at the Terravita Golf Course. This panorama is composed of eleven images stitched together. The image below could be printed 60 inches in length by 20 inches in height (150 cm x 50 cm).


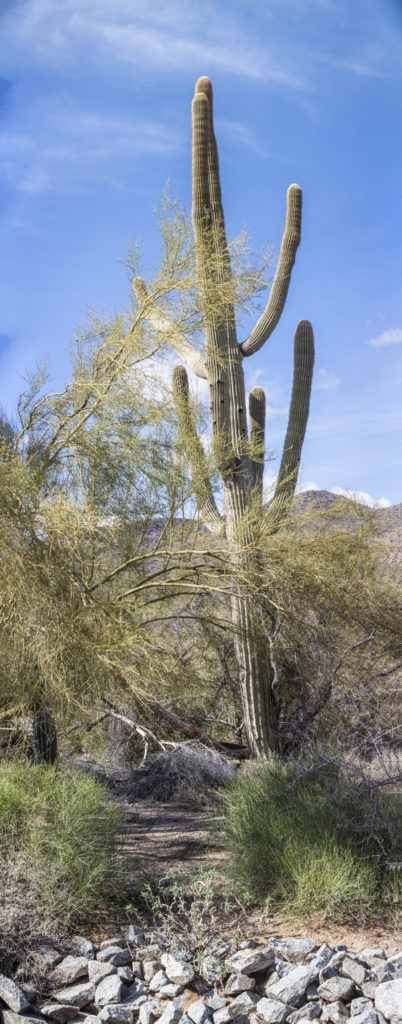
It is also possible to create a vertical panorama, stacking the component images straight up and down. This works well with tall buildings, trees and in this instance a large Saguaro cactus. This photograph required 10 component images to capture its entire height of about 30 ft. (9 m.). It can be printed to a size of 24″x 60″ (60cm x 150cm)
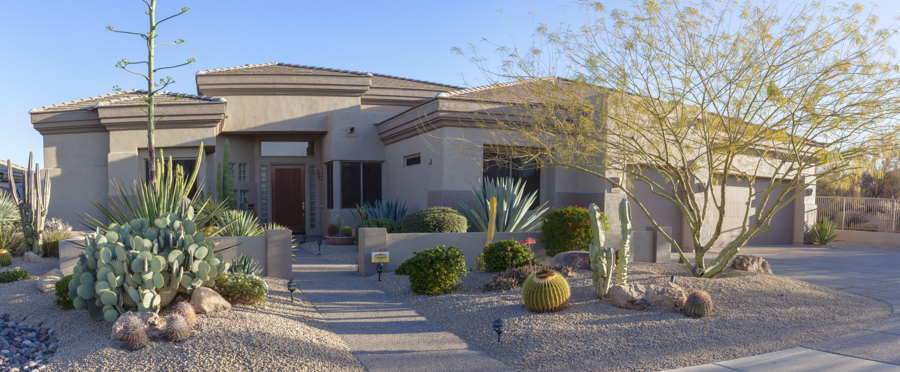
Finally, one can also create a multiple row panorama by combining horizontal and vertical elements. That can be thought of as photographing several rows of images (horizontally) at different heights in the scene. These rows can then be stacked vertically to complete the photograph. In practice, the photographer need only select all the images in the photographic software and it will figure how to piece them together to make the final image. This is where a multi-row pano elements package (as pictured above) becomes necessary to achieve well-aligned, distortion-free component images that the software can combine successfully.

So, why go to all this effort? Simply put, to create larger images with better resolution. For example, the 3 row panorama above is composed of 15 full-sized images (3 rows of 5 horizontal images). These images have a focal length of 50 mm, so given how close I was to the house they provide a very detailed picture of the area included in each image. When stitched together the composite image can be reproduced with much greater size and detail. I could take this same picture as a single image from much further back and crop it to this same size and shape. You wouldn’t notice much, if any difference in a small format such as this blog. But, the panorama contains ~15 times as much information as would a single image, so it’s quality is apparent when viewed in full size.
For a better idea of this photograph’s quality, you can view and expand it to better see the detail in the image attached to the cover message.

Great explanation….how about a sunset?

Helen