I haven’t had the opportunity while in Arizona this fall to get out and do some photography. So, I’m short on original material. I did spend more time on the development of images, working with new techniques I’ve been learning over the past year. I found some good raw images in my archive that I could use to work on, so I’ve had ample material to keep me occupied. Today, I’ll share a few of the developed images and describe some of the techniques I applied to them.
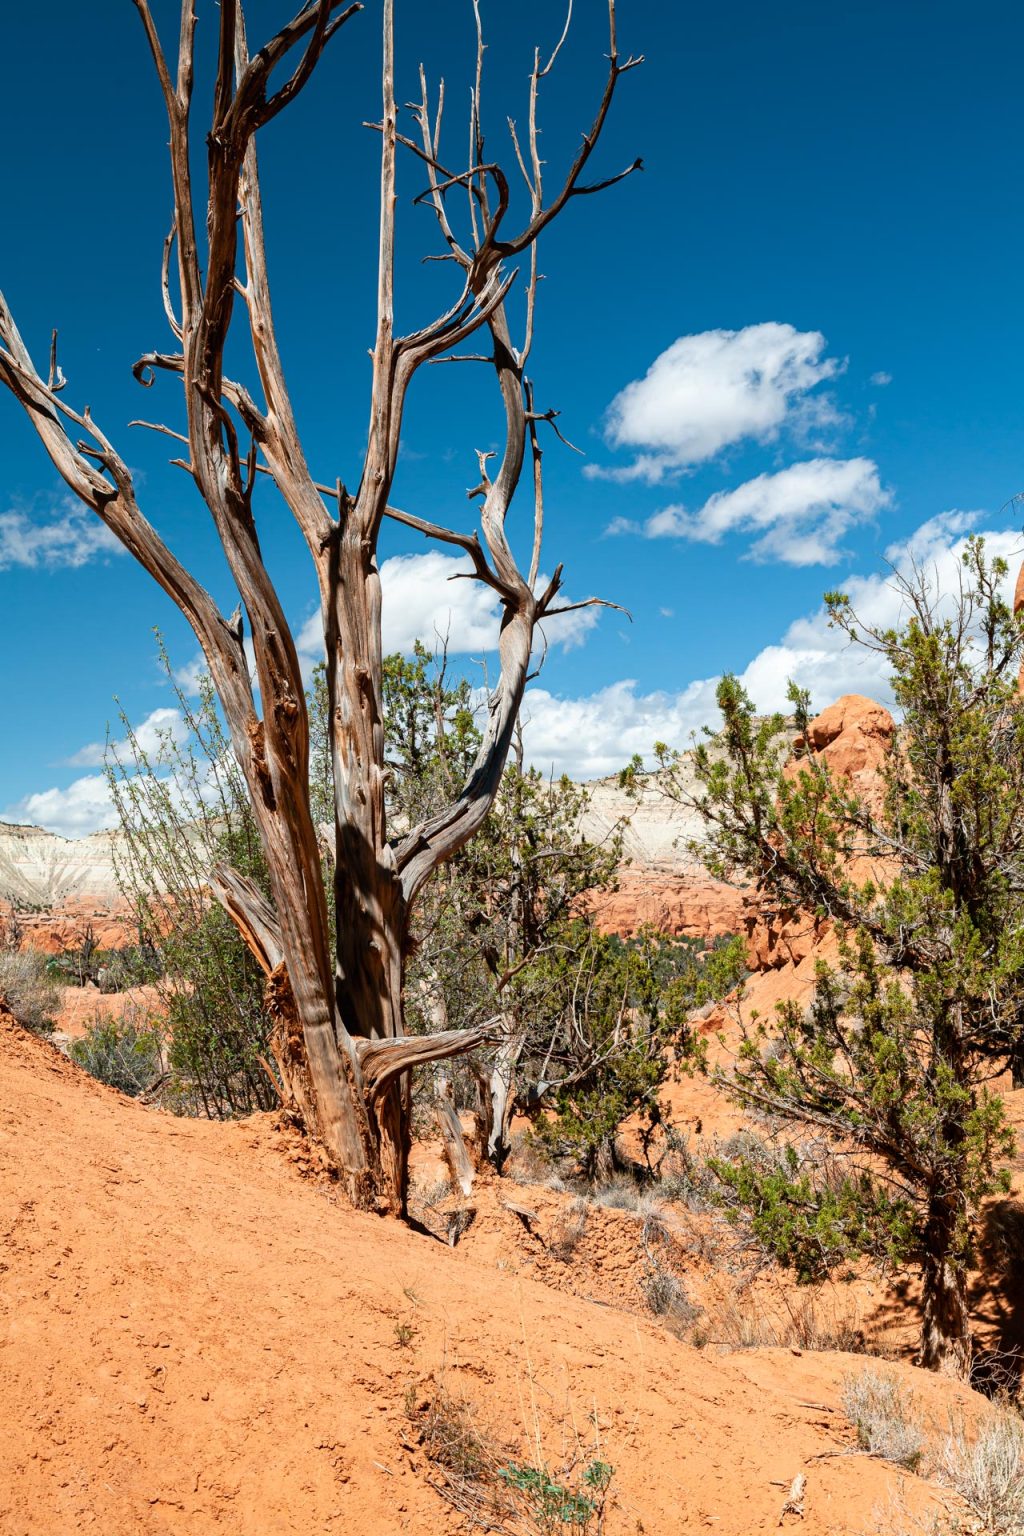
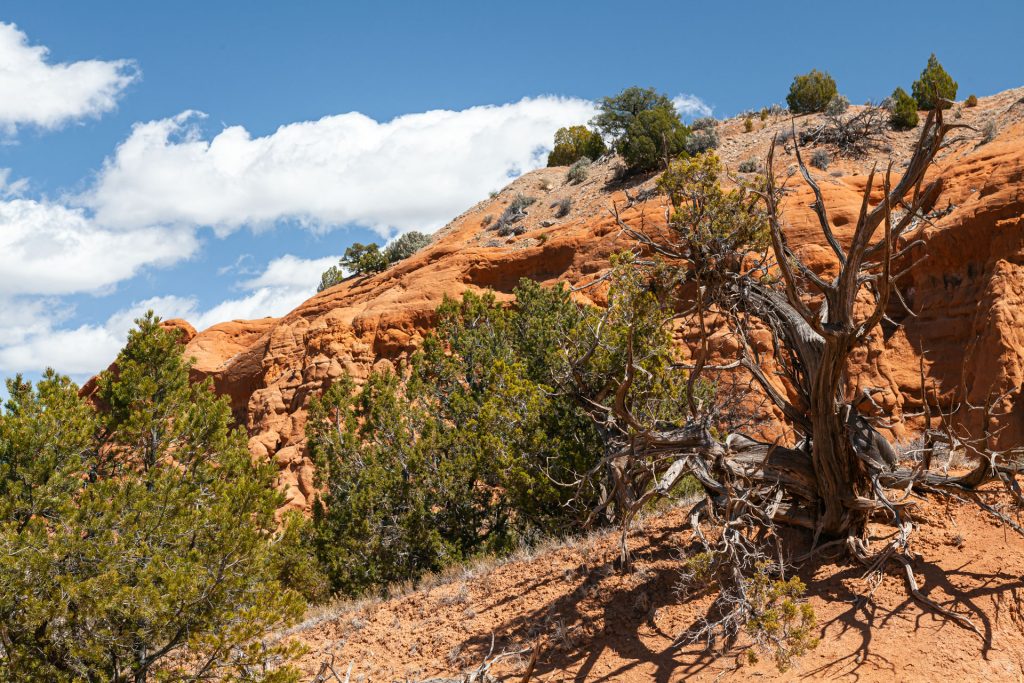
The first image was taken in 2018 at the Kodachrome Basin State Park in Utah. It’s a weathered old tree with lots of texture and character. I developed the image primarily using Adobe Camera Raw, applying many of the new features included in the newest release of this software. Adobe has enhanced the capability of working on selected areas of the image, using masks to hide areas of the scene that you don’t want to be affected by adjustments. This has long been a feature of Photoshop, now available in Adobe Camera Raw and Lightroom. In this photograph, for example, I was able to isolate the tree to make adjustments that I did not want to apply to other areas in the scene. I also applied a vignette and a spotlight to the picture, hoping to better focus attention on the subject tree. Vignetting is darkening around the edges of the image; spotlighting is lightening the subject, the tree in this instance.
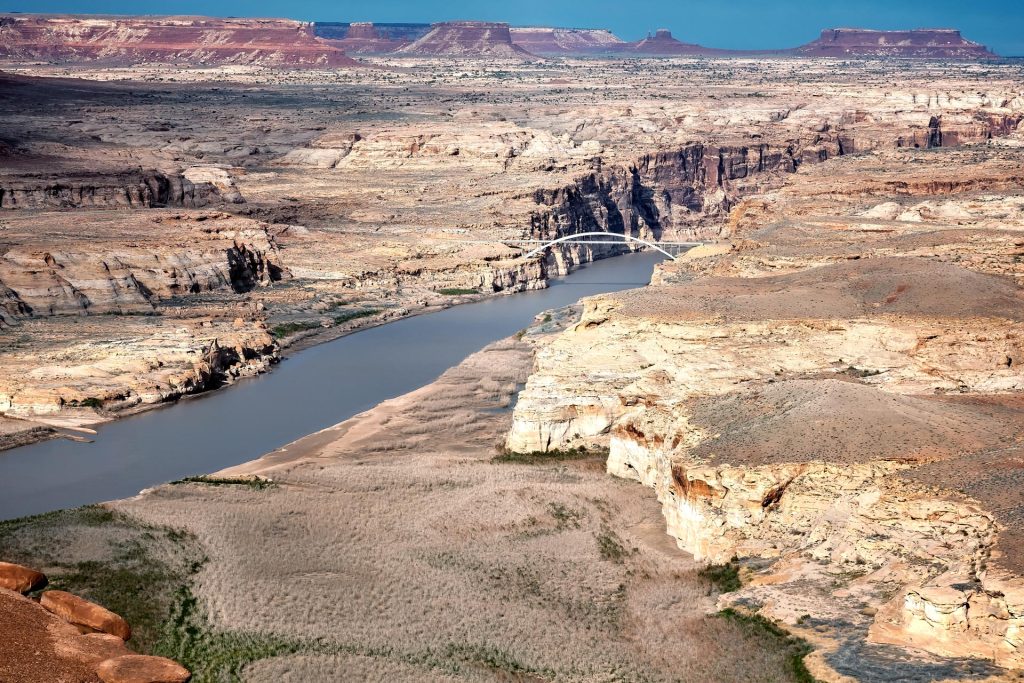
This photograph was taken in the Glen Canyon Recreational Area, en route to Capitol Reef National Park in 2018. That’s the Colorado River flowing southward via Lake Powell on its way to the Grand Canyon and beyond.
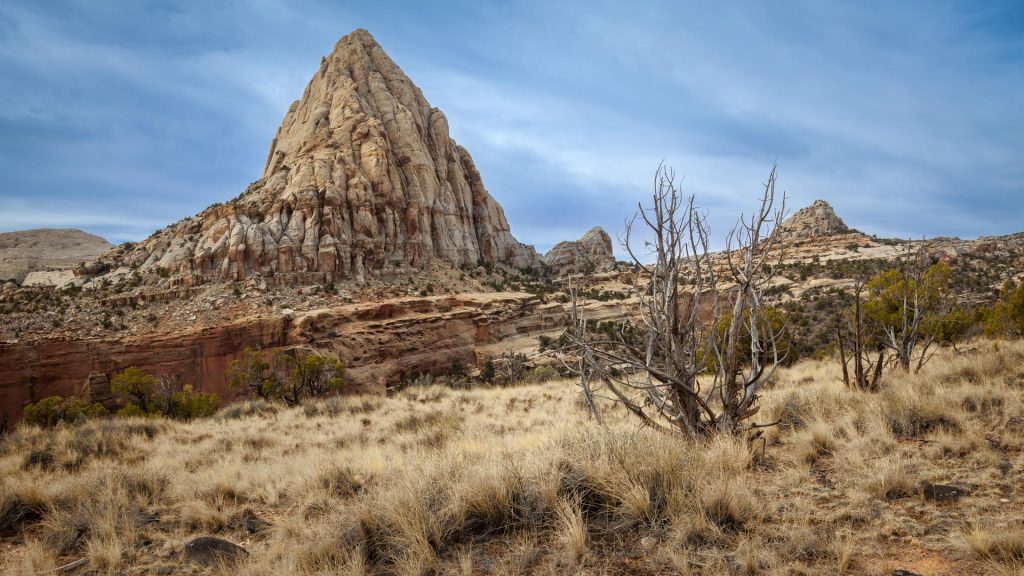
This peak, located in Cathedral Valley of Capitol Reef NP is known as Pectols Pyramid. Using a new tool in Adobe Camera Raw, I was able to isolate the sky for the purpose of increasing contrast and saturation without affecting the rest of the image. The “select sky” mask tool is much more effective and easier to use than selecting it by hand. The selection around the branches and twigs of the tree in the foreground is incredible. This improvement is one of many achieved through the use of artificial intelligence (AI), now assuming a prominent role in photography development.
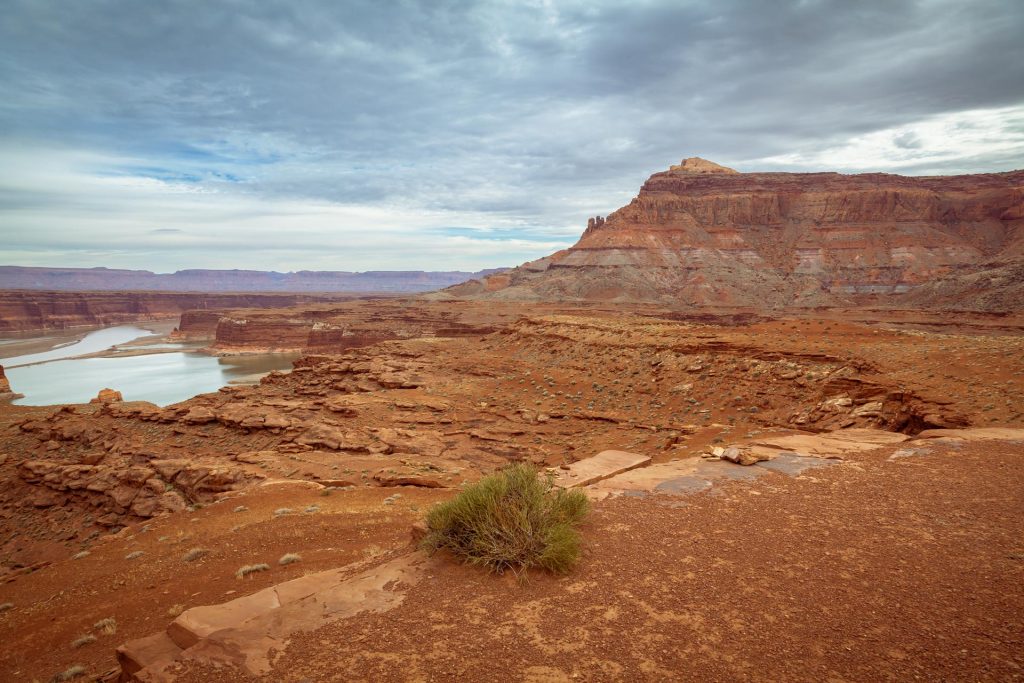
This photograph was also taken in 2018 at a stop made at the Glen Canyon Recreational Area, in Utah. Again, I applied a very subtle vignette to this one. What I have learned is to make the vignette so subtle that the viewer is not consciously aware of its presence, yet his or her eye is directed toward the picture’s subject (usually near the centre of the image). Now that I’ve told you, I’m sure you can see it.
This picture is all about the old, weathered pine on the right side. I like the character of these old trees and the considerable detail available to be drawn out. This tree was “rescued” from heavy shadowing on that area of the scene. I strived to expose the detail of the wood without going too far and making it look unnatural.
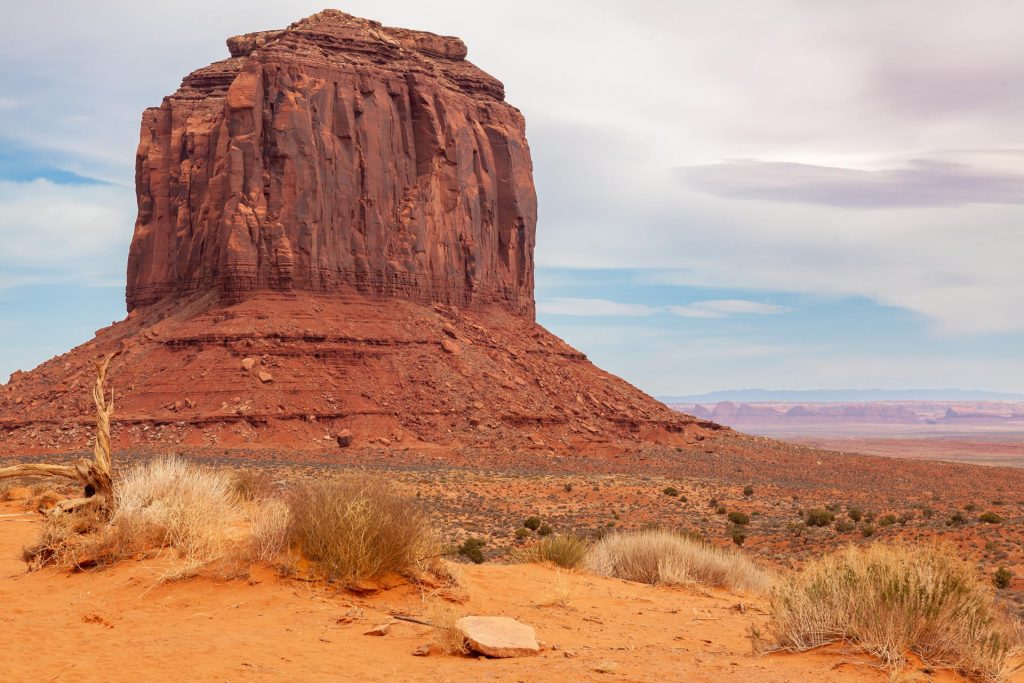
This is one of the many buttes to be seen in Monument Valley, a tribal park straddling the Arizona/Utah border. My main challenge in developing this photo was to get the colours looking right. By that, I mean the colours are accurate, based on my visual recollection yet eye-catching without overdoing it. I finished the image with a little colour grading. Colour grading is how you enhance or alter the color of an image to achieve a visual mood or tone. In this case, I was trying to tone down the vividity I had created earlier to maintain the sense of the barren, arid desert.
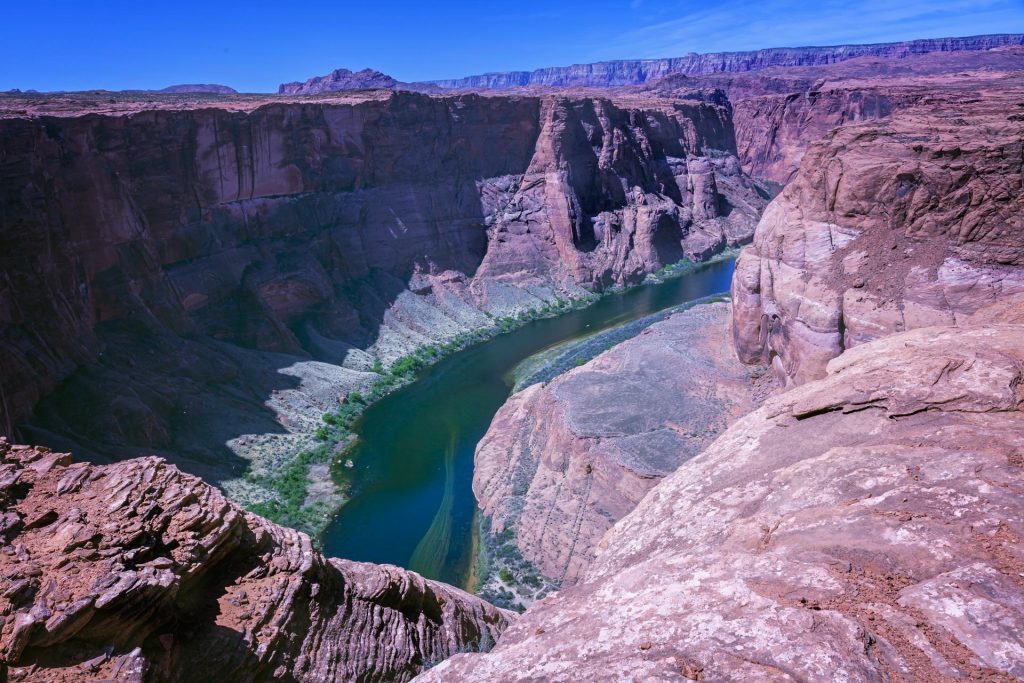
This picture of Horseshoe Bend, near Page Arizona has been developed to better illustrate colour grading. This is a “cool” tone as opposed to the “warmer” feel of many of today’s other images. In this photo, I’ve exaggerated the grading to better illustrate a popular choice of colour grade. The sky and background are very blue and the colour of the rock is “cool red”, one that leans to the purple side, rather than the yellow side.
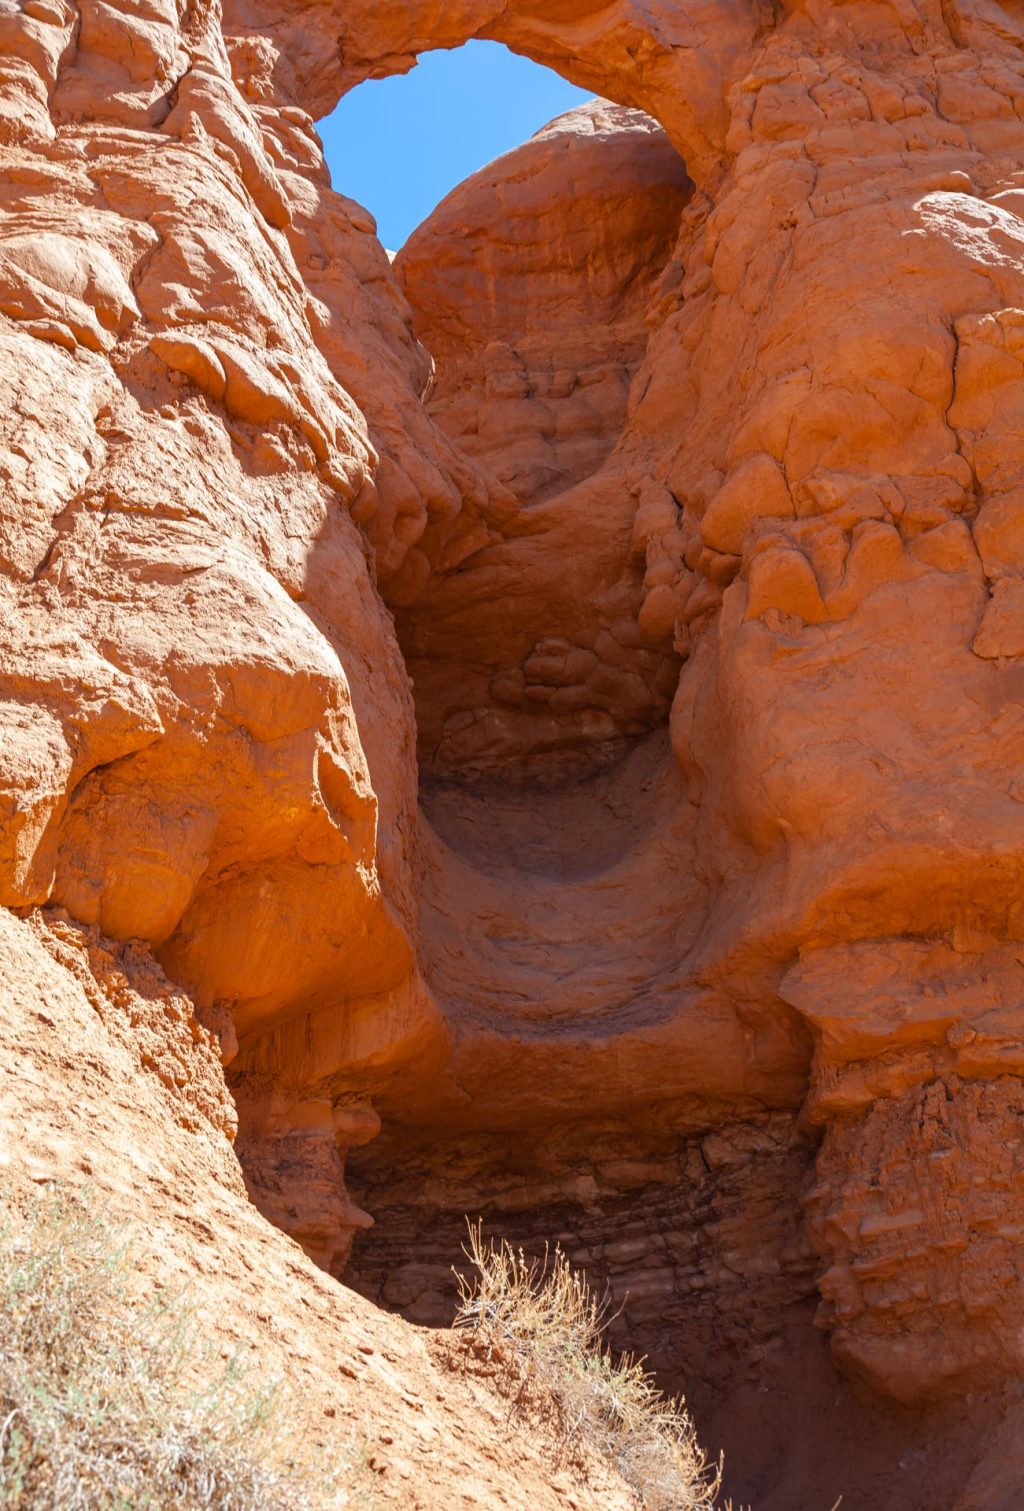
This is one of a number of arches found in Kodachrome Basin State Park in Utah. The challenge in developing this picture was to diminish the dark shadows created by the mid-day sun to reveal the texture and detail of the rock without over-lightening it and reducing the contrast. I applied “burning” as a last step in the process, to ensure that the cracks and folds in the rock remained evident. Burning is a technique that increases the exposure of areas that should be darker. It is achieved by brushing a lighter area with a darker colour, usually black.
This scene is one that has been colour-graded with green. Doing so has tempered the reds, oranges and yellows in the rock, leaving a more uniform grey look that complements the green of the trees.
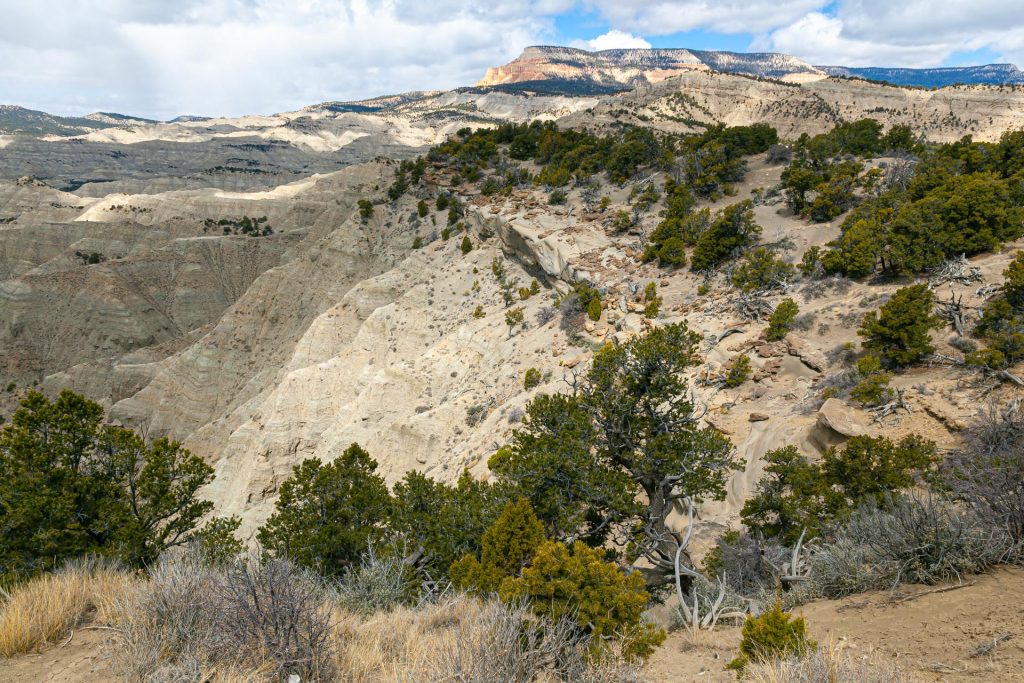
What I like best about this scene is the mix of light and shadows on the landscape. I was able to enhance those lights and shadows with “dodging” (the opposite of “burning”) and burning.
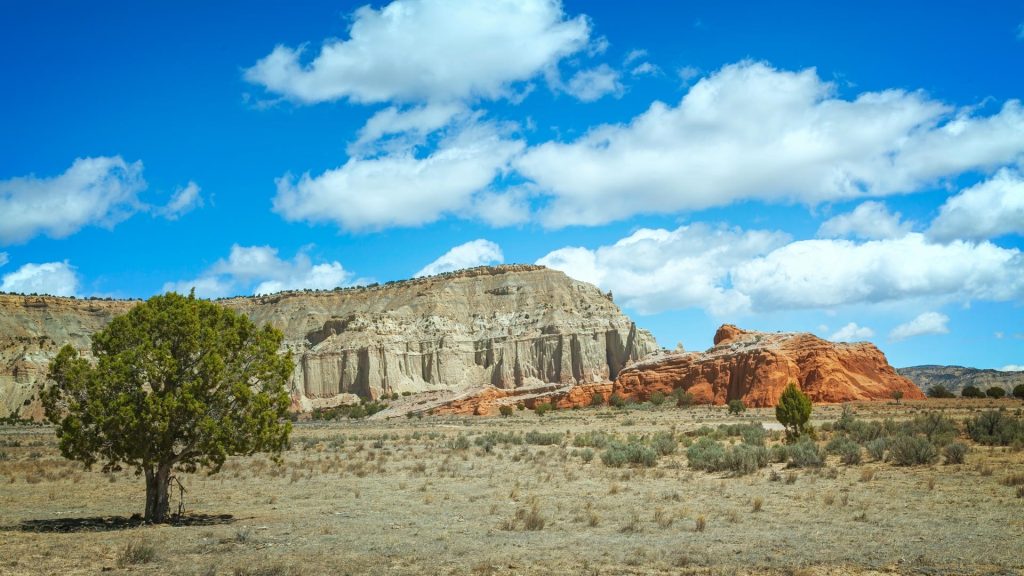
Today’s final picture was taken around mid-day with the sun behind me. It was an easy one to take and doesn’t require a lot of development. There has been no colour grading and the colours can only be described as vivid.
That’s it for now. I look forward to getting out soon with the camera to capture some new and exciting scenery. Stay tuned.
