GHOST TOWN
As I indicated at the end of my last post “Vulture City”, I am including two vehicles that we photographed after dark. We photographed them using a technique know as “light painting”. At the end of the post, I will explain the creation of the image, an interesting process with very cool results.
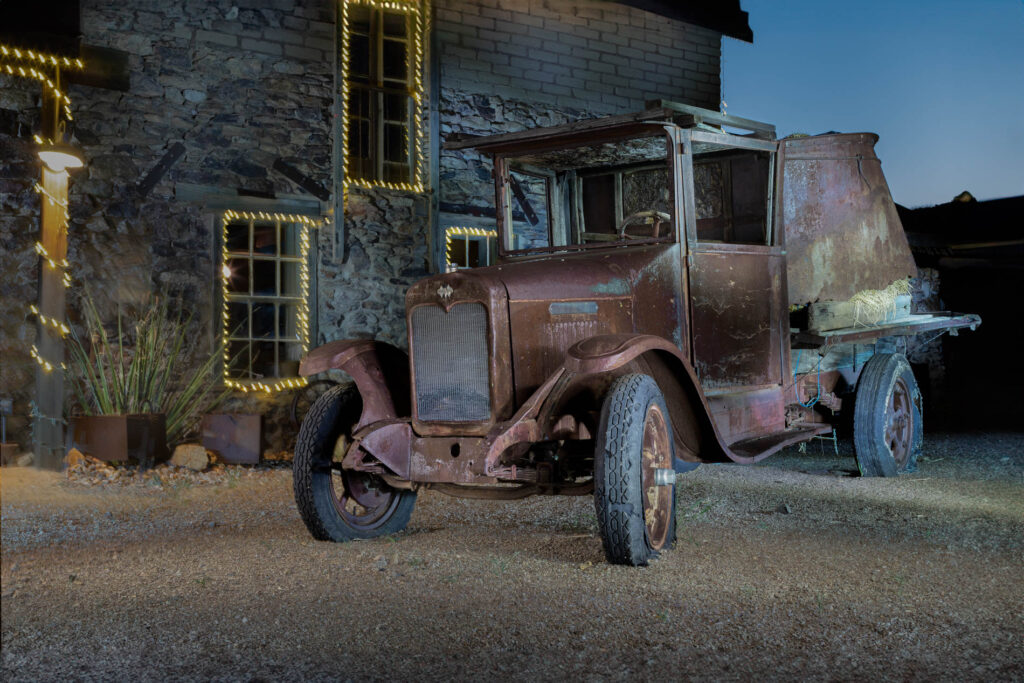
The first vehicle is an old International truck from the 1930’s. I’ve been unable to find much information on it. I’m presuming it served as a multi-purpose utility truck. We can say for certain that it’s nearly 100 years old.

1930 Vintage International Truck
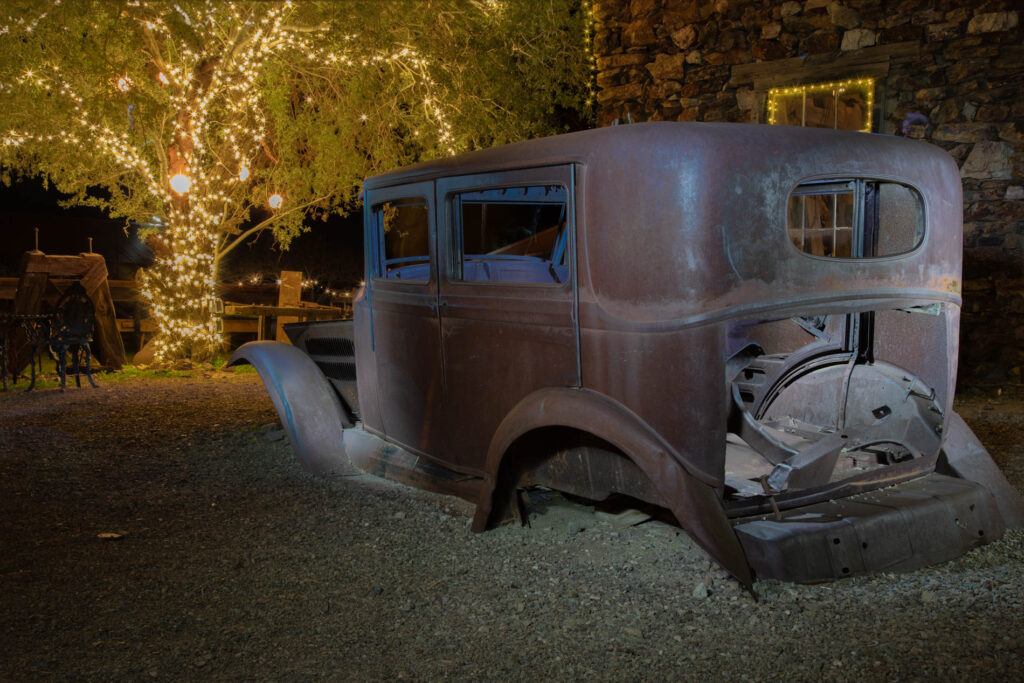
For obvious reasons, there isn’t much to say about this car. There is nothing remaining to identify it. It’s been stripped of pretty much everything. I’ll go out on a limb and speculate that it was a four-door sedan.

Collector’s Nightmare
The Photography
The first step in producing the finished “light painted” image is taking the photographs. The camera is set up on a tripod, such that each photograph will be the same, except for the lighting. The shutter speed is set for an exposure of 20 seconds duration. The shutter can be released by a second person or remotely using an electronic trigger. Once the shutter has been released, the “painter”, using a flashlight or something similar, will illuminate an area of the scene, for instance a fender on the car. After 20 seconds have elapsed, the shutter closes and the process is repeated on different areas of the scene, until the photographer is satisfied that all areas of the scene have been illuminated.
The number of photos taken will vary depending on the scene. For instance, for the “1930 Vintage International Truck” scene, we took 45 shots, illuminating all the areas we wanted for the final photograph. By comparison the “Collector’s Nightmare” required only 23 shots.
Creating the Image
The next step is to combine the partially illuminated, component images. A preliminary task is to ensure that all the photos are the same (except for the lighting). Next, these images are loaded as layers into Photoshop. That is to say they are arranged in a sequence that can be considered a conceptual “stack”. They can be treated as sheets in a stack of papers.
Before merging the layers into a single image, it is vital to ensure that every aspect of these stacked images is perfectly aligned. That can be done manually or by using Photoshop to perform the alignment.
To merge the layers into a single image, a blending mode (filter) is applied to each layer. The “Lighten Mode” allows only the bright areas of each layer to pass through the layers above. The light areas of all layers reach the top and the image is complete. Everything that is expected to be bright is bright. Everything that is expected to be dark is dark.
Not everything turns out exactly as aspected. So, a final step is to make adjustments with Photoshop, for example, removing a layer or making tweaks to the final image.
If that seems like a lot of effort, it is. Is it worth it? When done well, it can produce striking images not always achieved otherwise. An advantage of this process is that it allows the photographer much greater control of the light.
